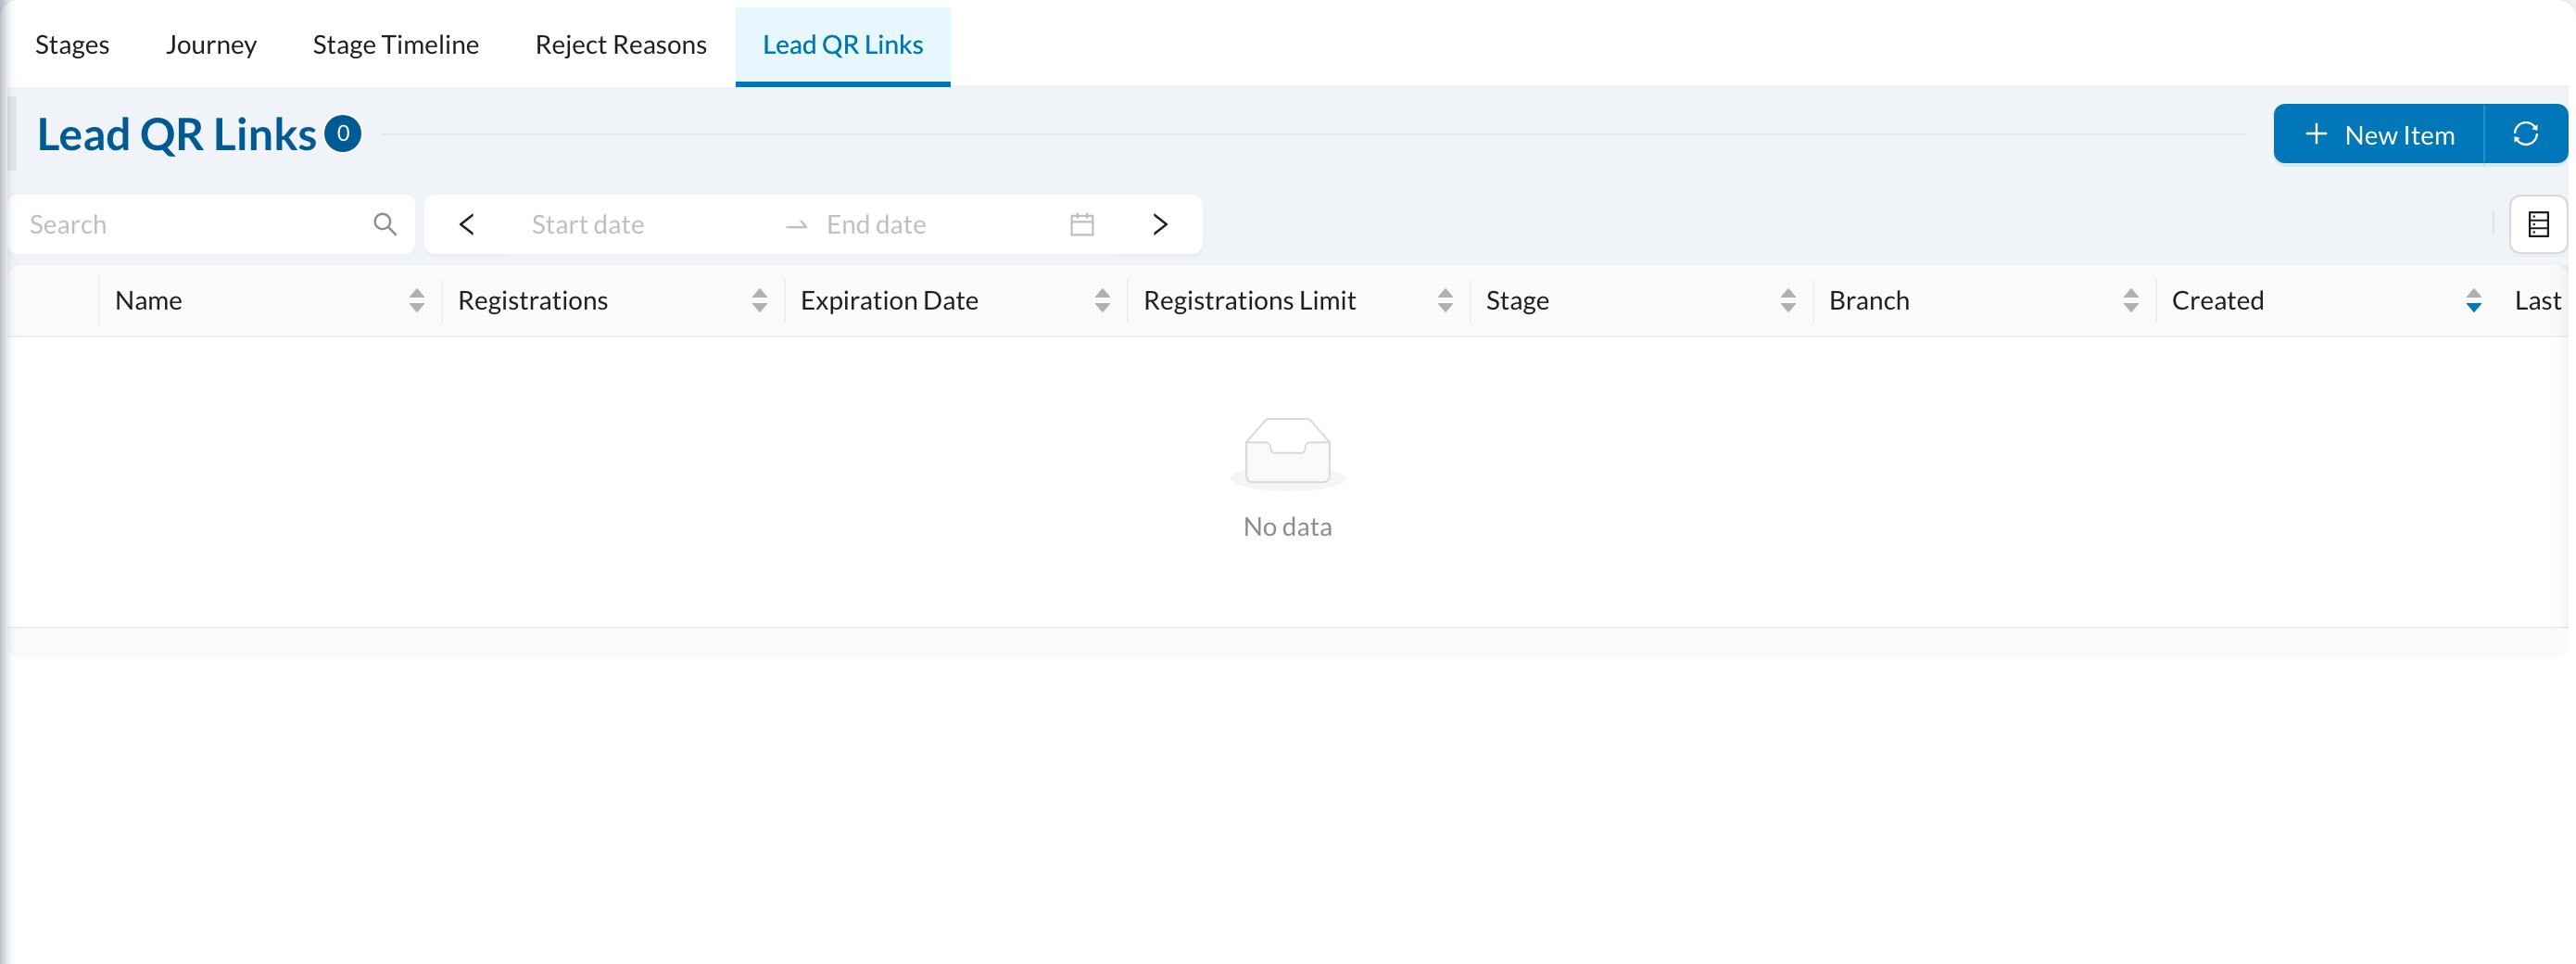
Go to Settings → Leads. The tabs are Stages, Journey, Stage Timeline, Reject Reasons and Lead QR Links.
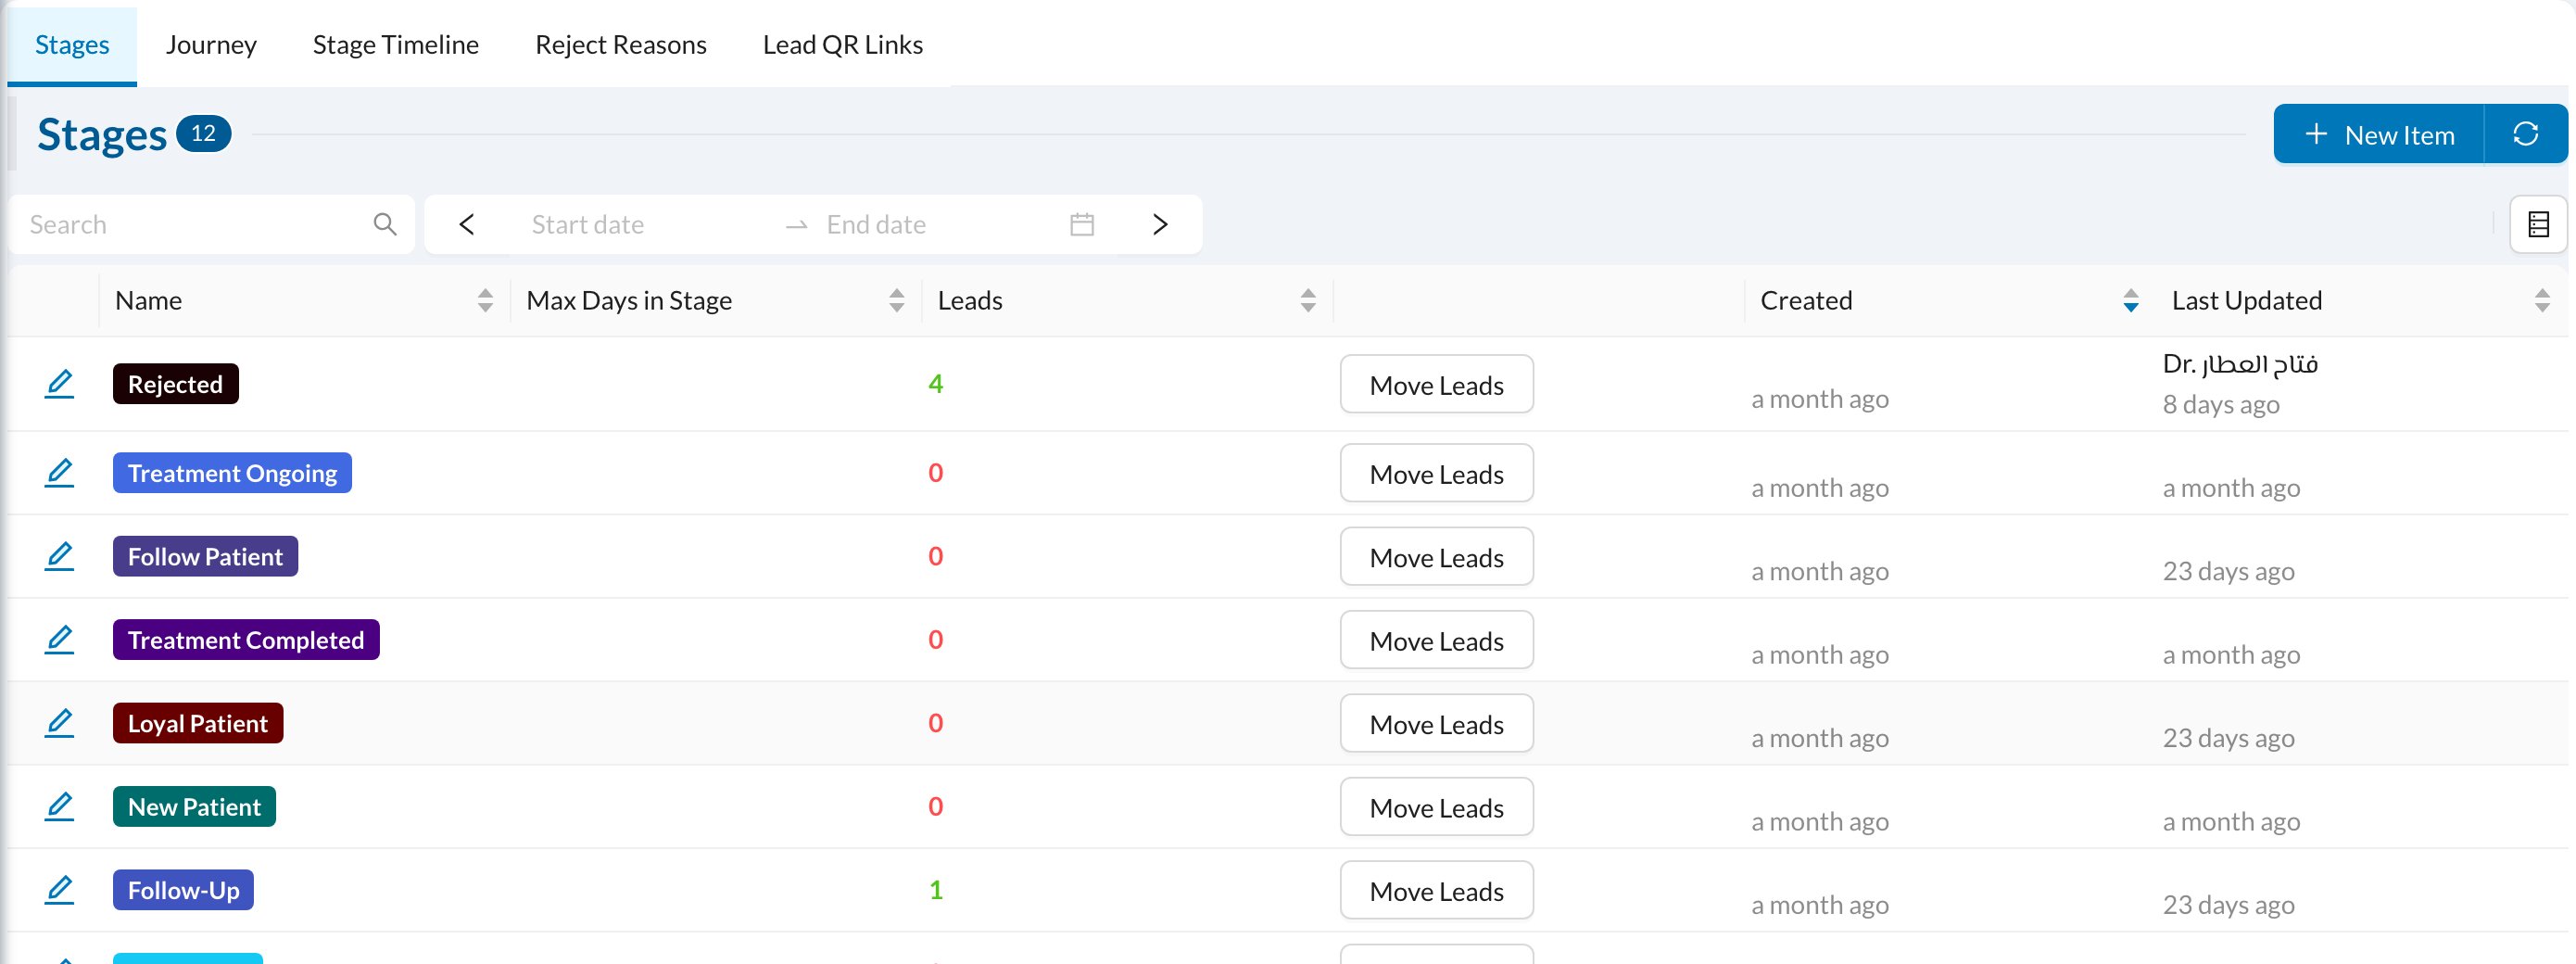
1️⃣ Create the stages
On the Stages tab, click New Item: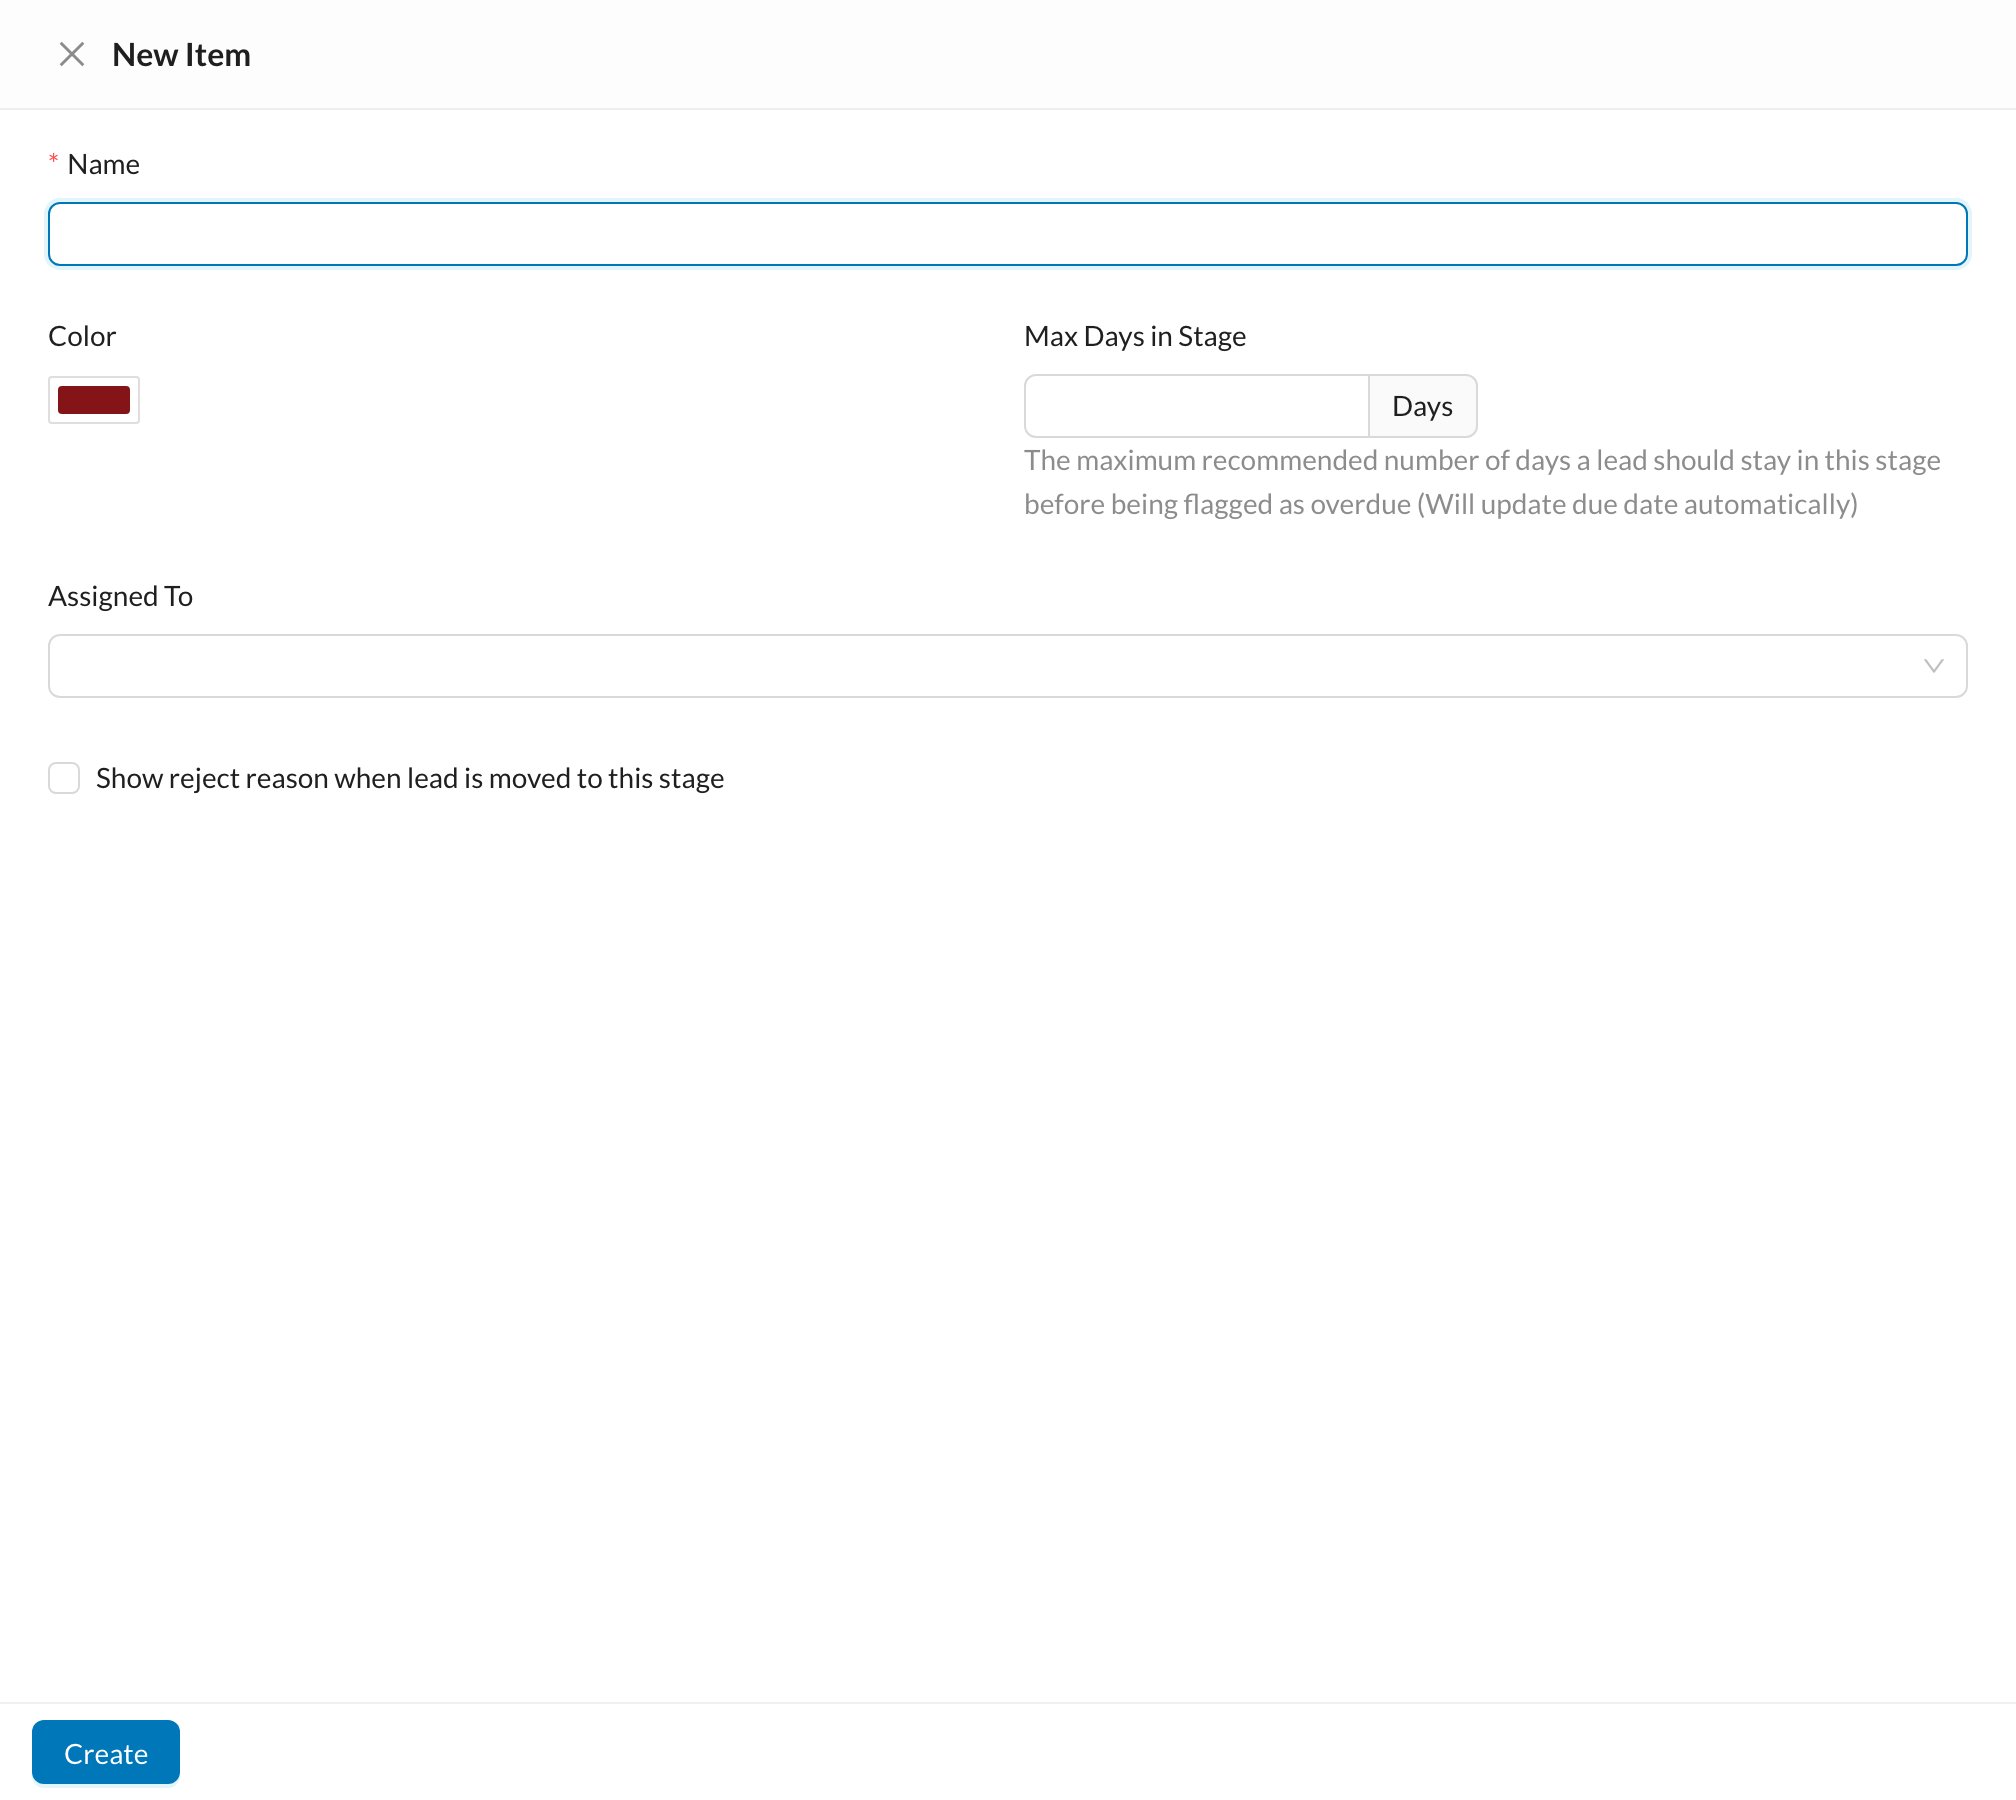
- Name (unique) and Color.
- Max Days in Stage: how long a lead should stay in this stage. When a lead enters it, its due date is set automatically, and it’s flagged overdue after that.
- Assigned To: the users who handle this stage. New leads are shared between them in turn.
- Show reject reason when lead is moved to this stage: for “lost” stages, asks for a reject reason.
2️⃣ Group stages into journeys
On the Journey tab, click New Item, enter a Name, choose the Assigned To users, and add the Stages in order (drag to reorder). The order is the order of the columns on the board.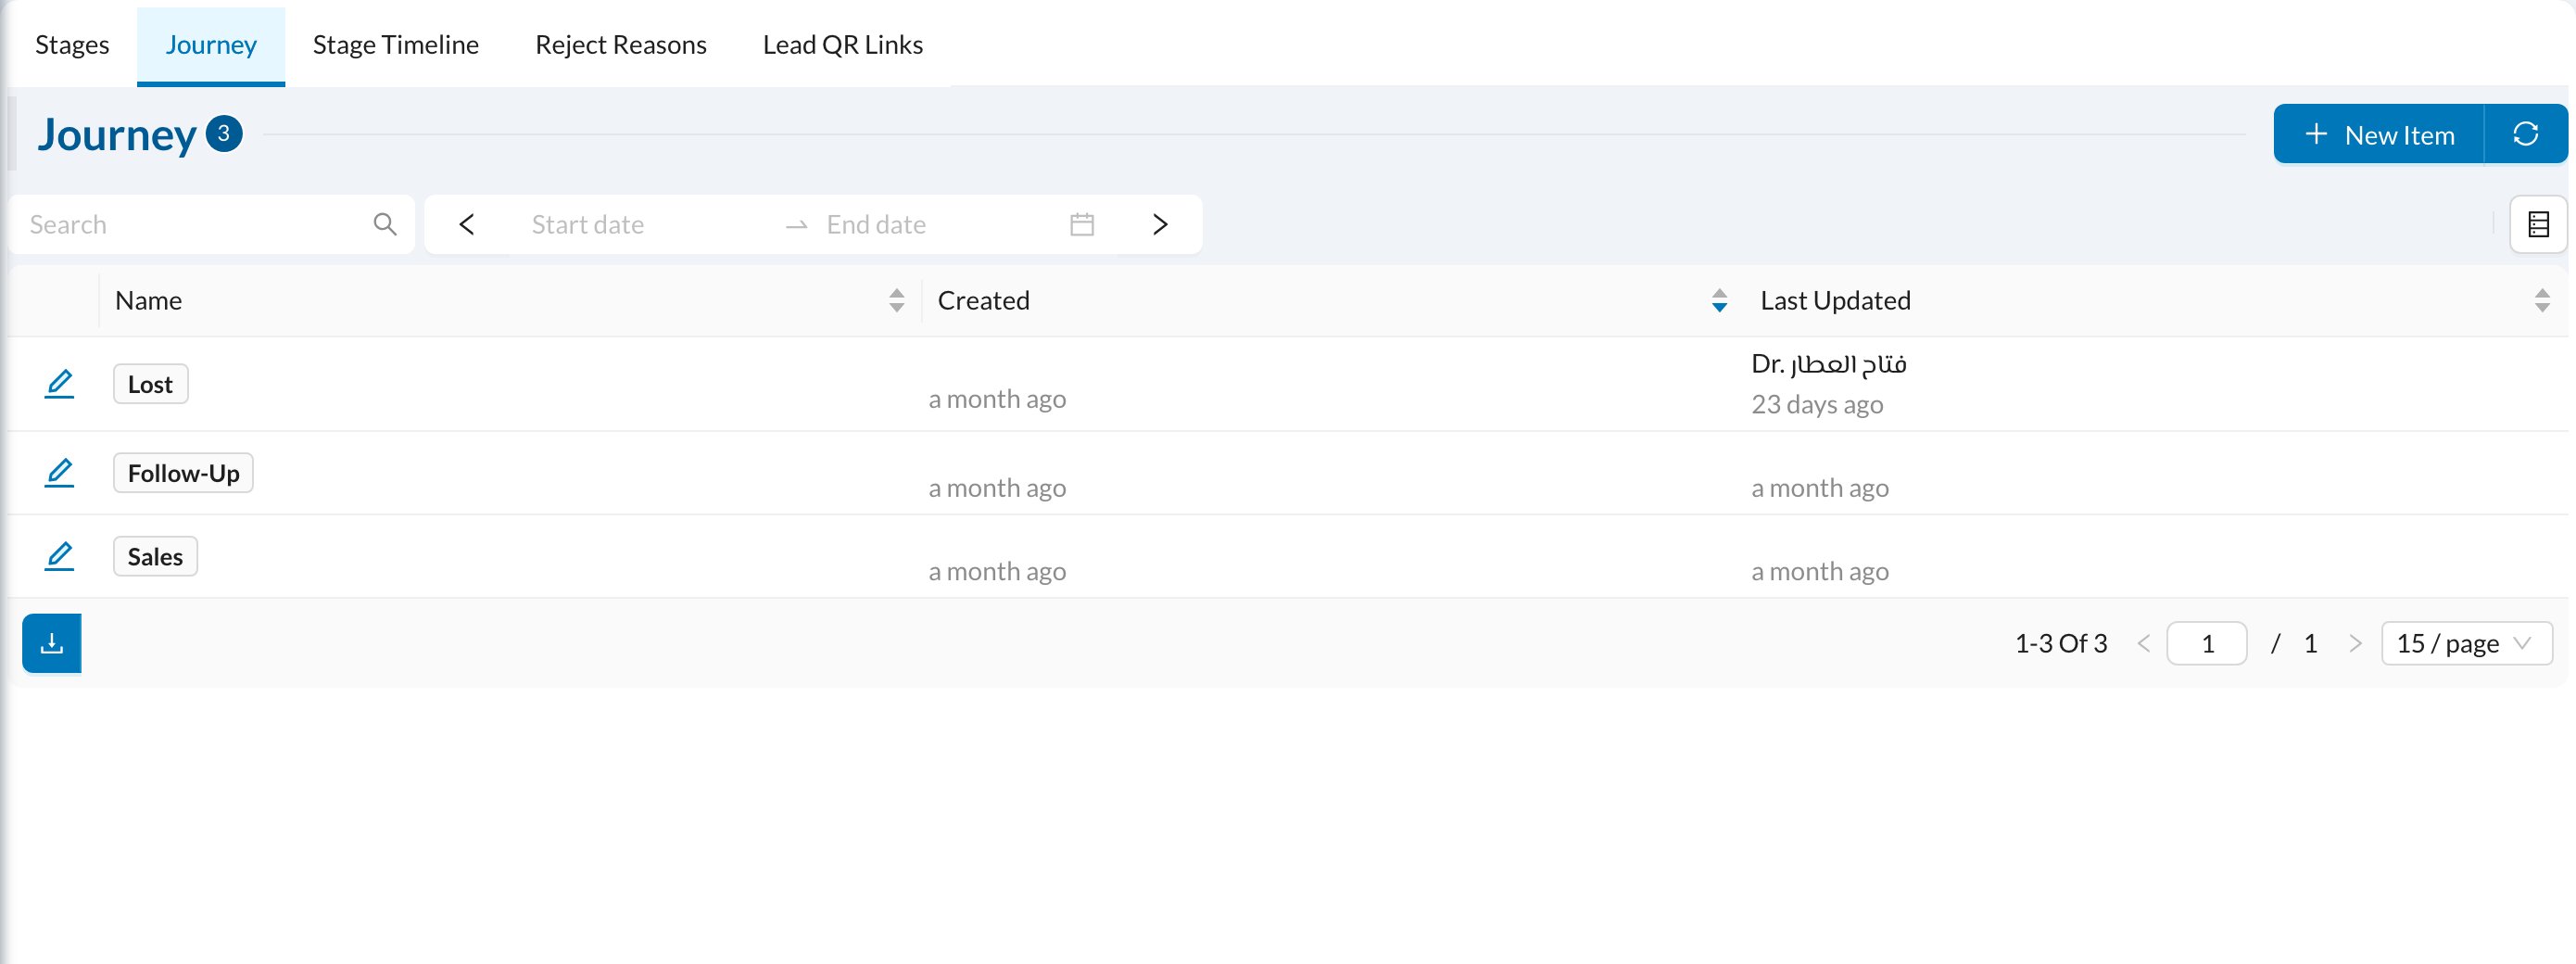
3️⃣ Reject reasons and QR links
- Reject Reasons: the reasons for losing a lead, such as Price, Competitor Chosen or No Response.
- Lead QR Links: create a form link or QR code (for your website, ads or reception) that adds the lead to a chosen Stage and Branch. Choose the fields shown and required, how long the link works and how many registrations it accepts.