

🩻 X-Rays
Open the patient and click the X-Rays tab.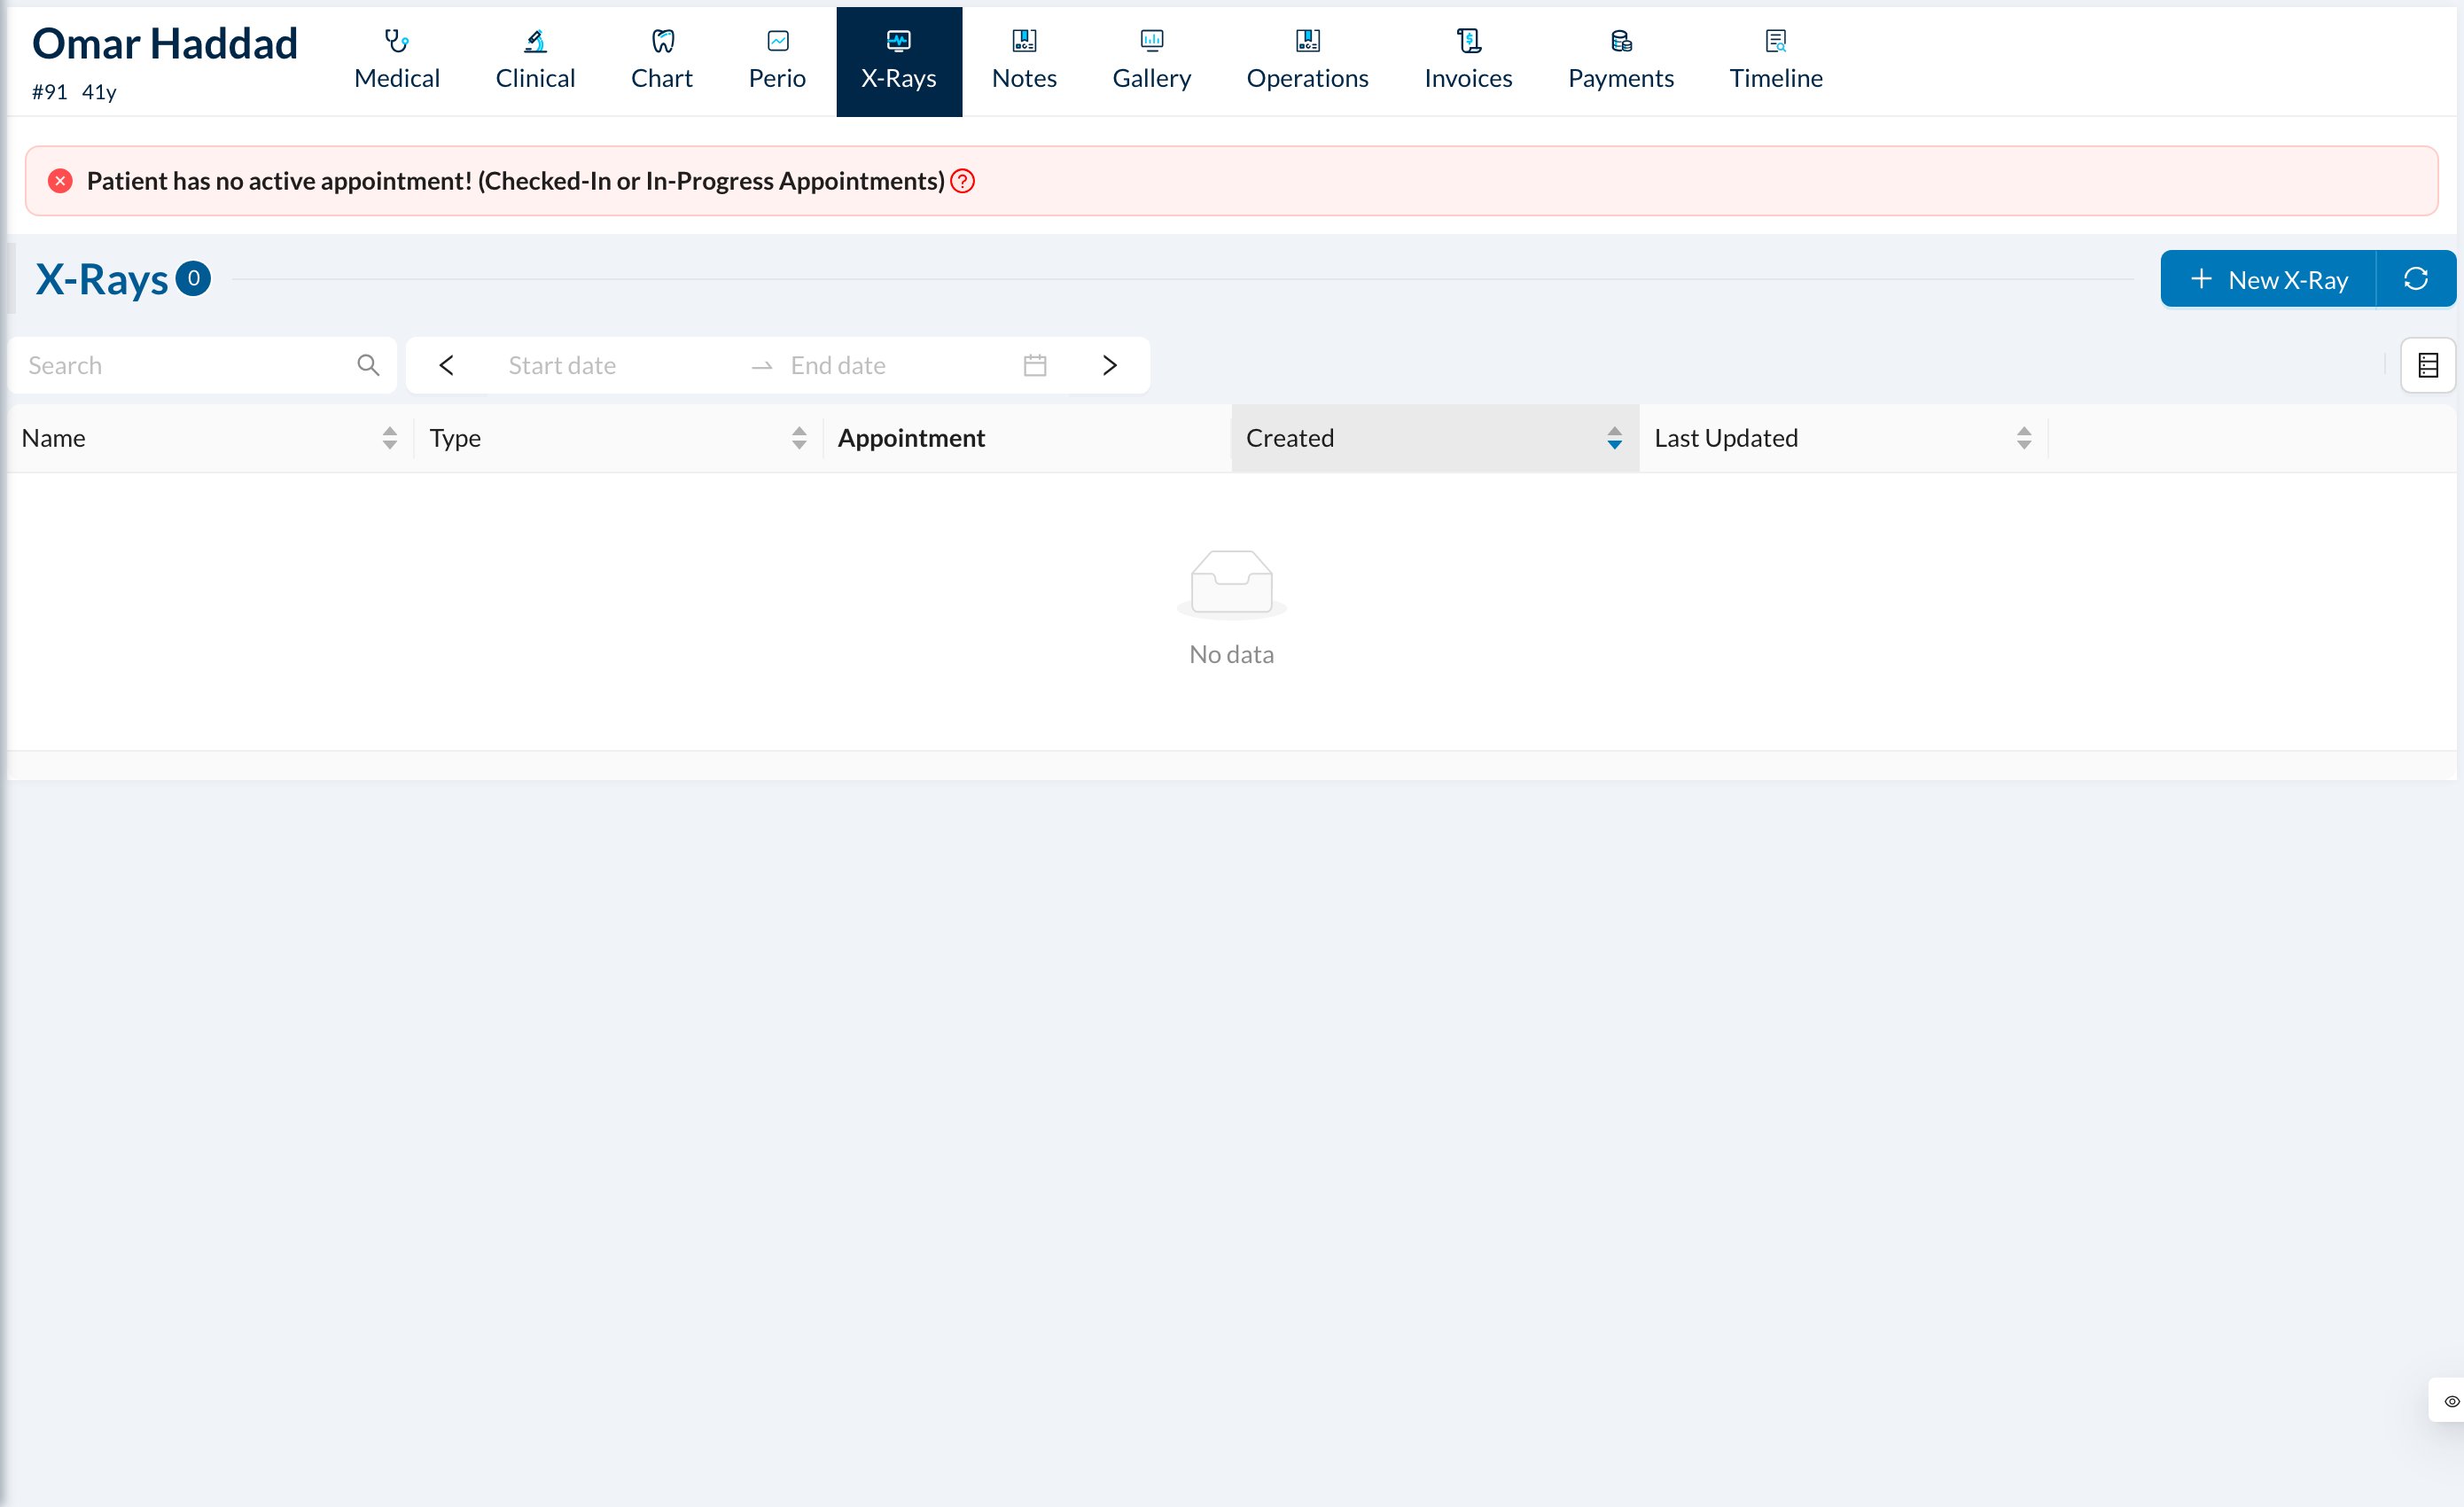
- Click New X-Ray and choose a layout, or Free Form.
- Drag an image into each box, or click to choose one.
- Enter a Name, then click Save or Save and Exit.
🖼️ Gallery and files
- Gallery tab: photos and files in folders. Click New Folder to create one, and Upload Files or drag files in. Deleting a folder deletes the files inside it.
- Profile → Files: every file of the patient, including X-ray and gallery images. Upload any type of file, several at once, and rename or delete them.